How to Install SLiMS v9.5.1 BULIAN on CentOS 7
Requirements
- CentOS 7 (Fresh Install)
- Apache 2.4
- MariaDB 10.10
- PHP 7.4
- phpMyAdmin
- Webmin Web Panels
- Source SLiMS v9.5.1 BULIAN
Open Port and Service in Firewalld
For Apache.
Baca Lainnya :- Building Web Servers with CentOS 7 #6 : Installation webmin
- Building Web Server with CentOS 7 #5 : Installation phpMyAdmin
- Membangun Web Server CentOS 7 #4 : Installasi PHP 7.4
- Membangun Web Server CentOS 7 #3 : Installasi MariaDB 10.10
- Membuat Zone dan Mengaktifkan Service ataupun Port di Firewalld CentOS 7
firewall-cmd --zone=public --add-service=http --pemanent
firewall-cmd --zone=public --add-service=https --pemanent
For Webmin.
firewall-cmd --zone=public --add-port=10000/tcp --pemanentFor MariaDB.
firewall-cmd --zone=public --add-port=3306/tcp --pemanentFor SSH.
firewall-cmd --zone=public --add-port=22/ssh --pemanentReload and restart firewalld.
firewalld-cmd --reload
systemctl restart firewalld
Temporarily Disable SELinux
Run the following command.
setenforce 0Update the CentOS System and Install the Epel Repository
yum update
yum install epel-release
yum repolist
yum --disablerepo="*" --enablerepo="epel" list available
yum update
Install Apache 2.4
Run the following command.
yum install httpdInstall MariaDB 10.10
Run the following command.
yum install wget
wget https://downloads.mariadb.com/MariaDB/mariadb_repo_setup
chmod +x mariadb_repo_setup
./mariadb_repo_setup
yum install MariaDB-server
systemctl enable mariadb
systemctl start mariadb
mariadb-secure-installation
Install secure MariaDB, run the following command.
mariadb-secure-installation

Enter current passwor for root (enter for none) : Enter
Switch to unix_socket authentication [Y/n] : n
Change the root password? [Y/n] : Y
Remove anonymous users? [Y/n] : Y
Disallow root login remotely? [Y/n] : n
Remove test database and access to it? [Y/n] : Y
Reload privileges tables now? [Y/n] :Y

mysql -v
Install PHP 7.4
Run the following command.
rpm -ivh http://rpms.famillecollet.com/enterprise/remi-release-7.rpm
yum -y install yum-utils
yum-config-manager --enable remi-php74
yum update
yum install php php-cli
yum install php php-cli php-fpm php-zip php-devel php-gd php-mcrypt php-mbstring php-curl php-xml php-pear php-bcmath php-json php-intl php-xmlrpc php-soap php-opcache
php -v
Install YAZ
Run the following command.
pecl channel-update pecl.php.net
yum install libyaz-devel
yum install yaz
pecl install yaz
Add the following script in php.ini and restart Apache.
vi /etc/php.iniAdd the last line.
extension=yaz.soRestart Apache.
systemctl restart httpd.serviceInstall phpMyAdmin
Run the following command.
yum install phpmyadminEdit the phpMyAdmin configuration file, the edits will ensure that you can access your phpMyAdmin client remotely. We will open the phpMyAdmin.conf file located in the /etc/httpd/conf.d/ directory using the vi editor.
vi /etc/httpd/conf.d/phpMyAdmin.confHere you will see four different require ip strings that match the long IP. The default value is 127.0.0.1. Replace this value with the device IP that you will use to access phpMyAdmin.
Install Webmin
Run the following command.
yum -y install perl perl-Net-SSLeay openssl perl-IO-Tty perl-Encode-DetectAfter the additional extensions have been installed, add some scripts to the webmin.repo file. This script functions to activate the Webmin installation package during the installation process.
The webmin.repo file is located in the yum.repos.d directory, to open the webmin.repo file run the following command.
vi /etc/yum.repos.d/webmin.repoThen add the script as below.
[webmin]
name=Webmin Distribution Neutral
#baseurl=https://download.webmin.com/download/yum
mirrorlist=https://download.webmin.com/download/yum/mirrorlist
enabled=1
Next, import the Webmin GPG Key to your server using the following command.
rpm --import http://www.webmin.com/jcameron-key.ascAfter the installation process is complete, edit the miniserv.conf file in the webmin directory. MiniServ itself is a web server file that helps the process of running Webmin. To open the miniserv.conf file run the following command.
vi /etc/webmin/miniserv.confNext, in the Miniserv.conf file, look for the SSL=1 script and change it to SSL=0. Then save the file.
When finished changing files, restart webmin to confirm file changes. Run the following command to restart webmin.
service webmin restartInstallasi SLiMS v9.5.1 BULIAN
Open the browser and enter the webmin web panel http://ip_server:10000 with root access user.
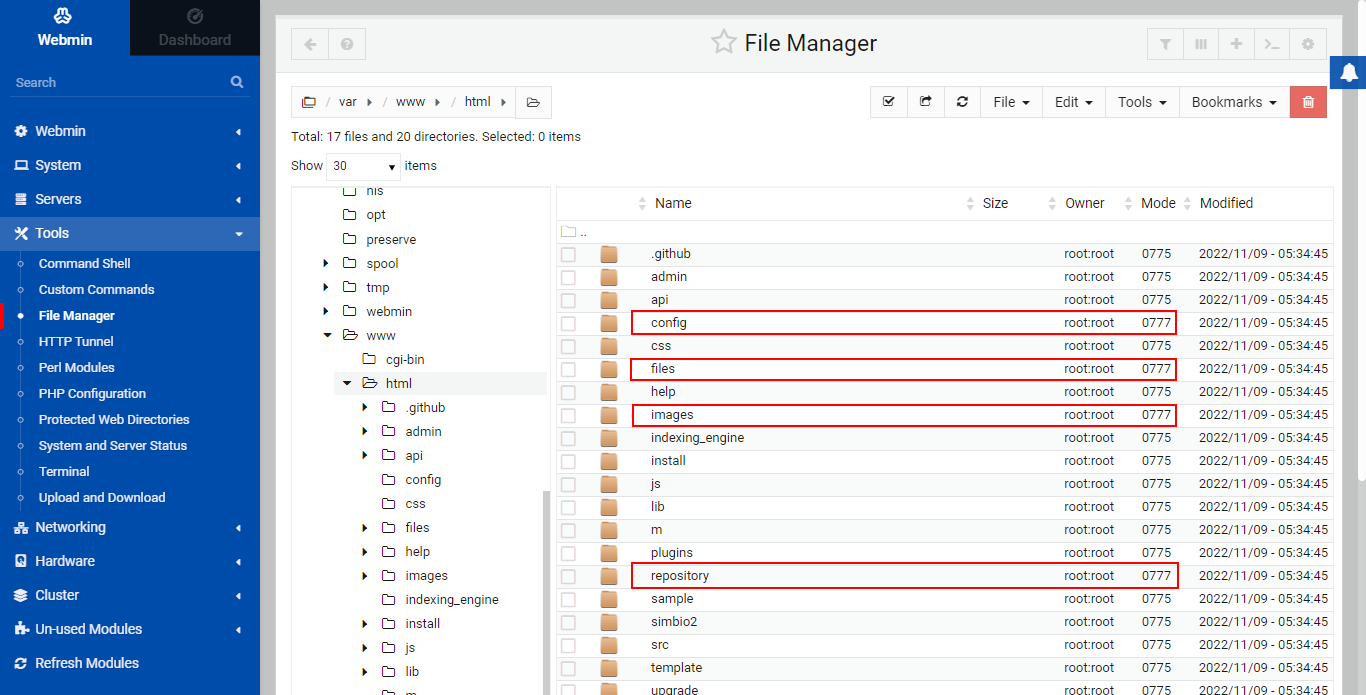
Enter the /var/www/html folder and upload the slims bulian source code file in that folder.
Extract and move all contents of the file to /var/www/html folder, change the folder permissions to 777 in the following folder.
- config
- files
- images
- repository
Create database via phpMyAdmin http://ip_server/phpmyadmin.
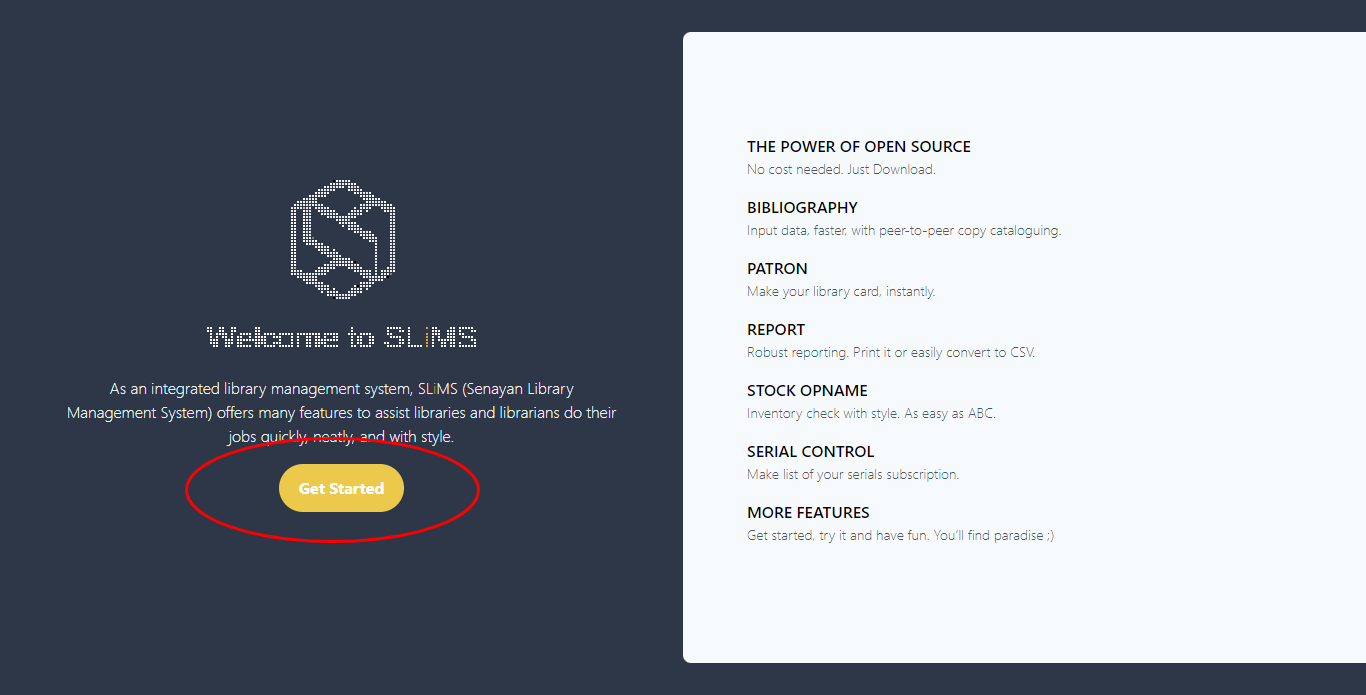
Perform the installation by accessing the ip server http://ipserver or domain, follow the installation process.
Click Get Started.
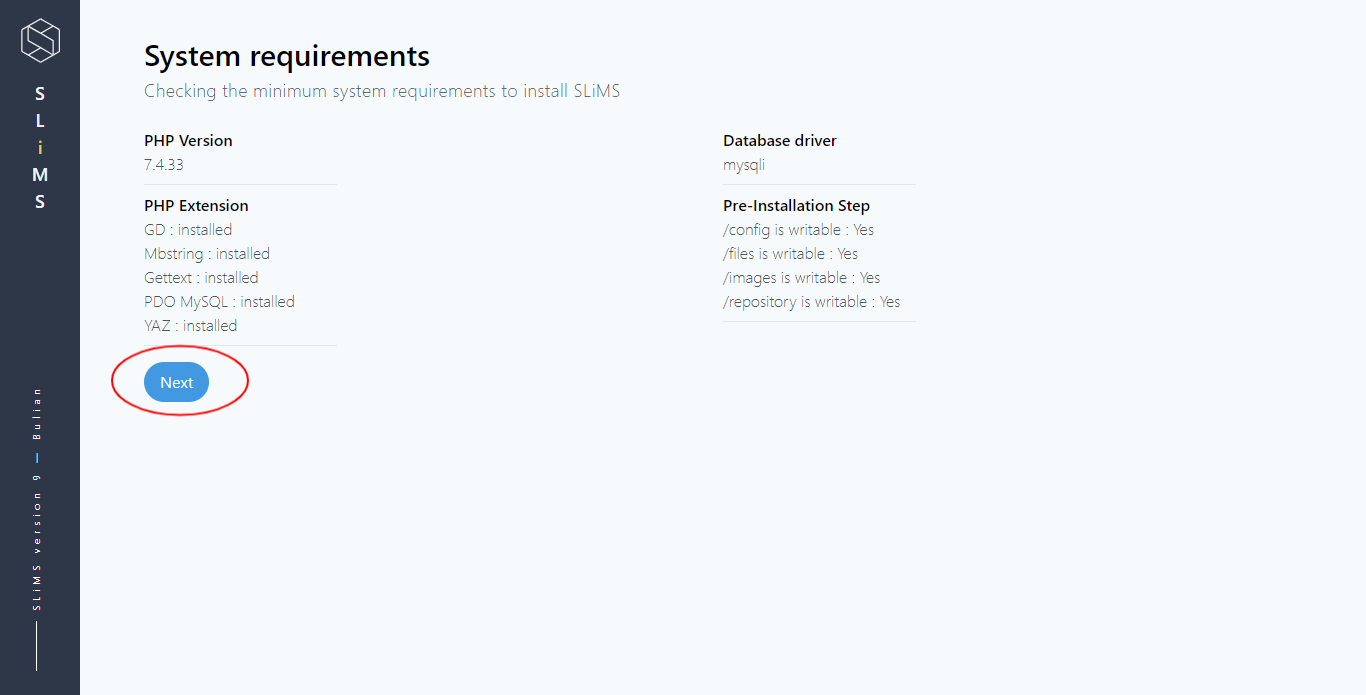
Checking the minimum system requirements to install SLiMS, click Next.
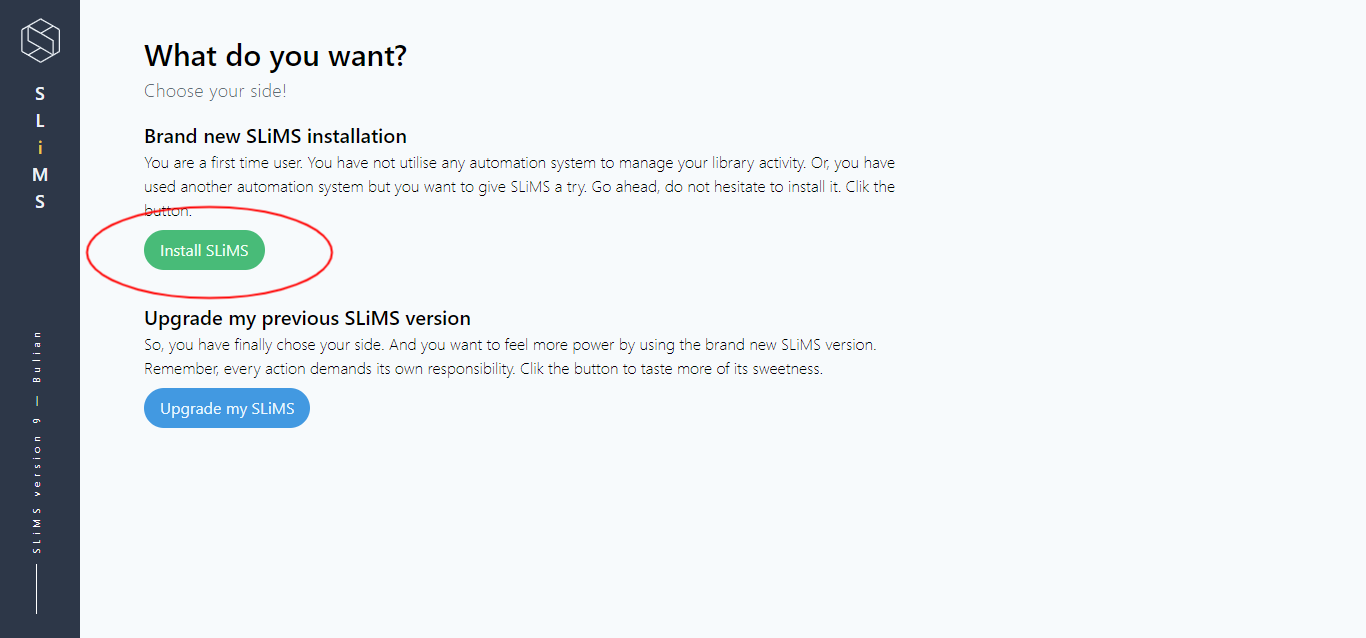
Click Install SLiMS.
Fill in the database detail and clik Next.

Select generate sample data and install admin user, click Run the Installation.

Click Go to My SLiMS and view home page.

After the installation process is complete, don't forget to delete the 'install' folder for security.
That's a short article about How to Install SLIMS v9.5.1 BULIAN on CentOS 7 I hope this will be useful for all readers.